UPDATE: If you are a MS employee, Visit https://demomonkey.cloudapp.net/. There is a complete Azure VM deployment script for this in your Azure subscription. I had limited success getting this to work on my own.
If you have used the Microsoft Office Demos website Office 365 environment, you know it’s quite handy for client demos. It used to be similar to the SharePoint Information Worker Demo or SDPS demo. This new environment runs on Windows Server 2012 and features SharePoint 2013, Exchange, Lync, and Office web apps. These demos can be spun up on Office 365, or downloaded as Hyper-V virtual machines for on premise demos. They are HUGE VMs and resource hogs. I think you need 50+ GB of ram to host all 9 VMs, as well as probably 1TB of hard drive space to even consider starting these VMs. Remember, having everything run on the same disk will create major throughput issues with your storage and run unbearably slow (tried on four 1TB Raid 10 7200 SATA drives and could only get a few going before hitting huge performance walls).
So, let’s host it in Azure!
There are plenty of performance considerations in Azure, such as use an E drive for your data, turn on or off disk caching, using separate storage accounts, etc. I will NOT be covering that. This is a POC for a client demo, so my goal is just to get SharePoint 2013 with the Contoso users and content working on premise so we can demo Web Content Management (WCM) features of SharePoint, along with the Content by Search web part and Taxonomy driven navigation for product sites.
I will only require SharePoint and the Domain Controller for this effort. My farm does not require Search live preview, Outgoing/incoming email, Lync presence, etc. So hosting this on
Here are the major steps:
- Downloading the template
- Convert VHDX to VHD before uploading to Azure
- MakeCert
- Connect Azure to PowerShell
- Start conversion while waiting (VHDX to VHD)
- Upload VHDs:
- Add VHD to VM Image
- Create VM
- Repeat and create the SharePoint VM
- Add VHD to VM Image
- Create VM
- Resources and Links
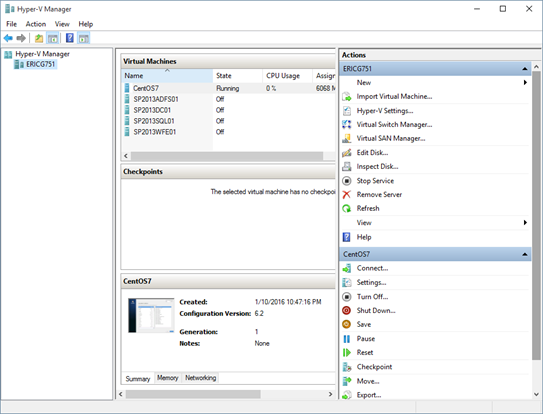
Downloading the template VMs
First, download the VHDX zip files from www.microsoftofficedemos.com
I chose to download mine with content.
- 2013-DC v4 (Complete)
- 2013-EXCH v4 (Complete)
- 2013-LYNC-SE1 v4 (Complete)
- 2013-PCHAT v4 (Complete)
- 2013-SP v4 (Complete)
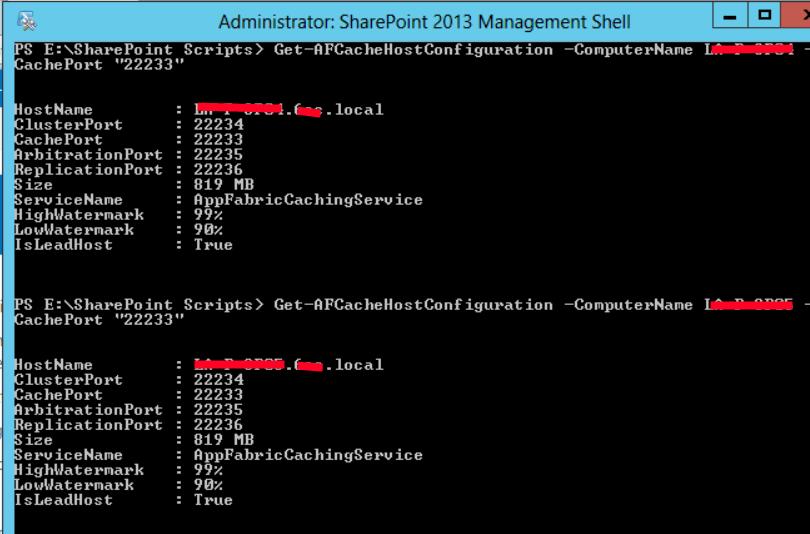
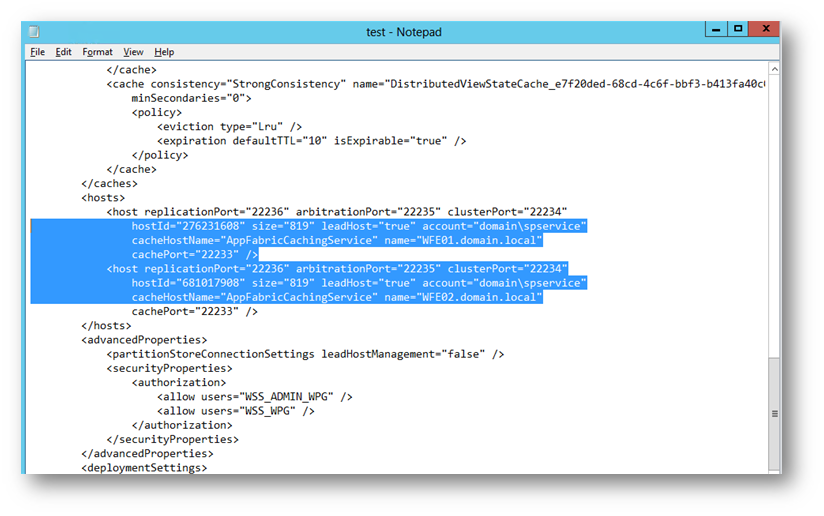
- 2013-SP-AFCache v4 (Complete)
- 2013-VPN v4 (Complete)
- 2013-WAC v4 (Complete)
- Office Demos 2013 VHD EULA
I downloaded #1, #5 and #7. These 3 files required ~31GB of disk space and extract to ~175GB
Extract each VM to your computer.
Convert VHDX to VHD before uploading to Azure
If you have Windows 8.1 or Windows PowerShell 4.0, Windows Server 2012 R2, Run PowerShell Convert-VHD command: http://technet.microsoft.com/en-us/library/hh848454.aspx
Convert-VHD -path “D:\temp\MS-Office-Demo-VMs\2013-DC v4 (Complete)\2013-DC Complete v4\Virtual Hard Disks\2013DC.VHDX” -destinationpath “D:\temp\MS-Office-Demo-VMs\2013-DC v4 (Complete)\2013-DC Complete v4\Virtual Hard Disks\2013DC.VHD”
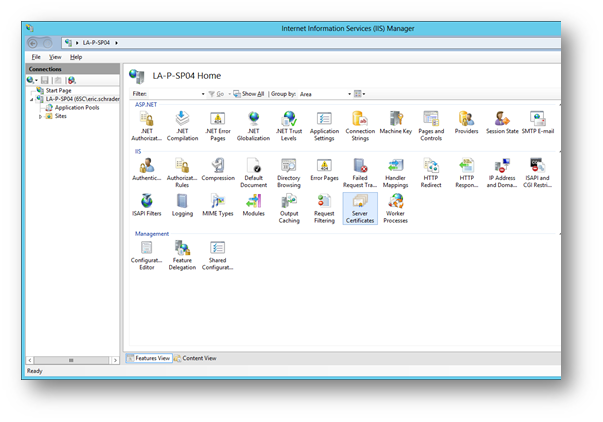
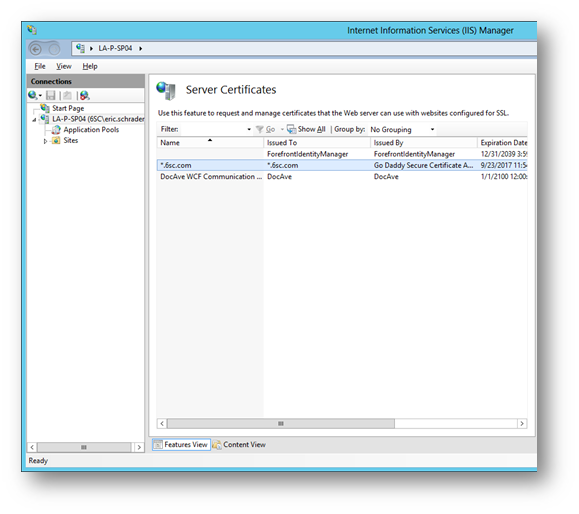
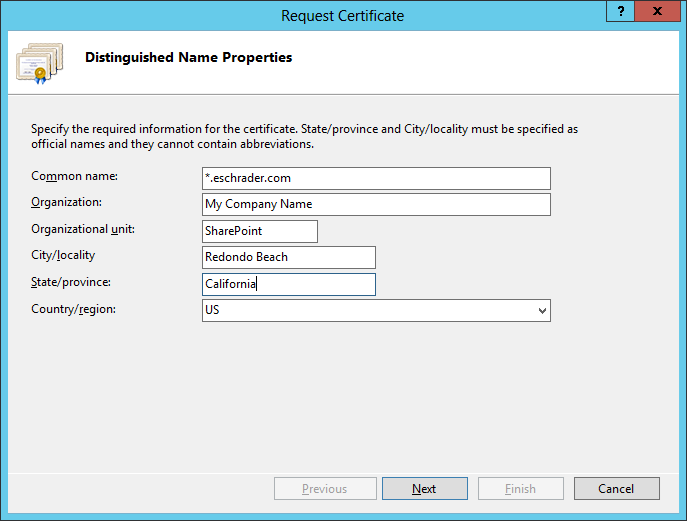
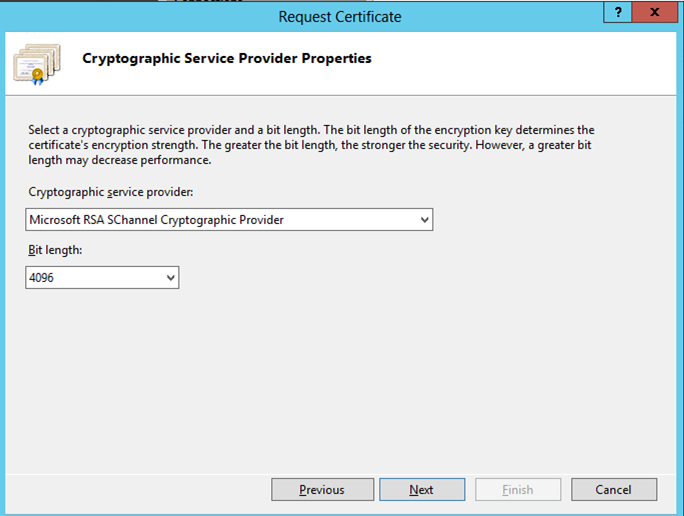
MakeCert
Visual Studio command prompt
C:\Program Files (x86)\Microsoft SDKs\Windows\v7.1A\Bin\x64
makecert -sky exchange -r -n “CN=MSDNAzure6scport06” -pe -a sha1 -len 2048 -ss My “MSDNAzure6scport06.cer”
Connect Azure to PowerShell
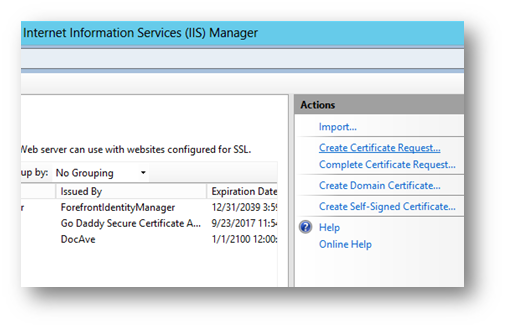
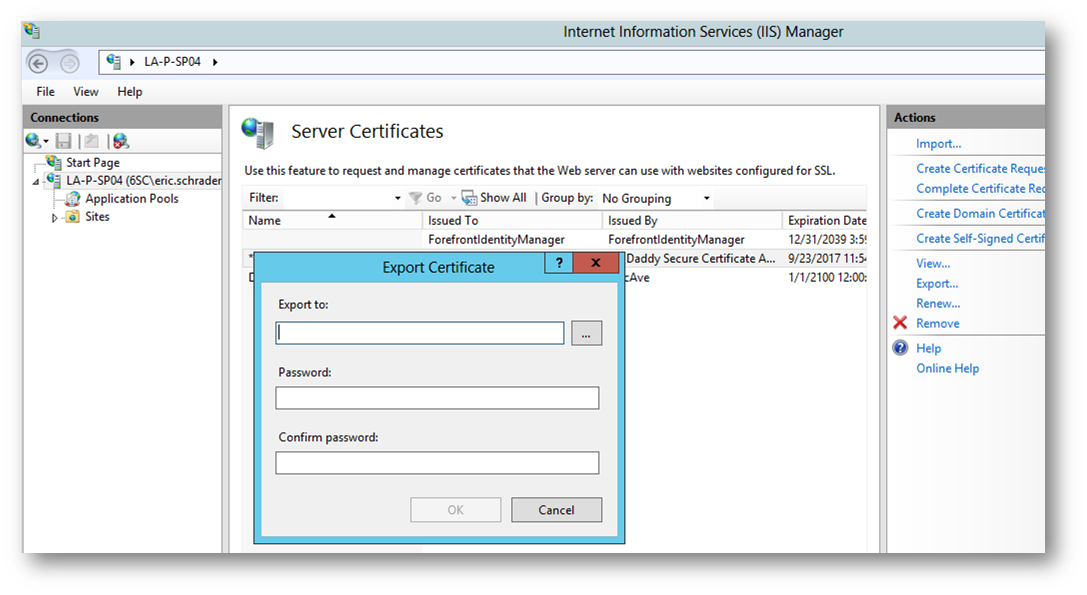
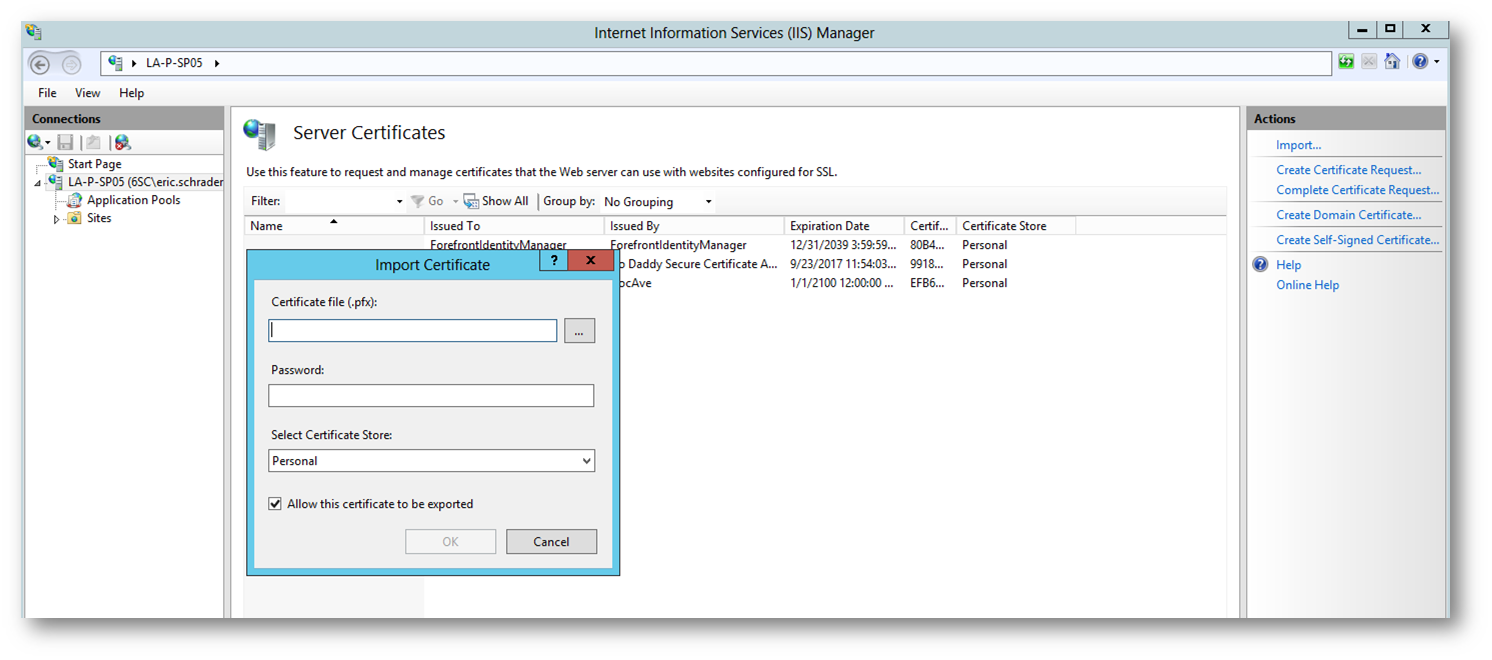
MMC- add snap-in Certificate. Navigate to Personal certificates. If you are not a local administrator and run CMD as administrator, they will not appear for you. I just exported another Azure cert from the management tools for testing and it worked for me.
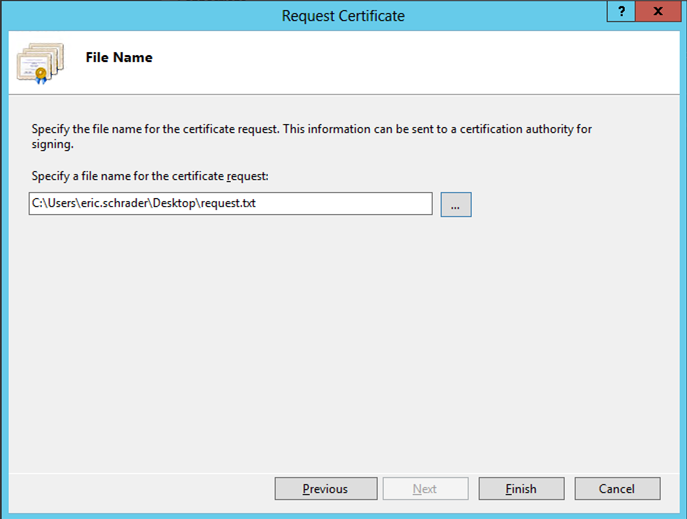
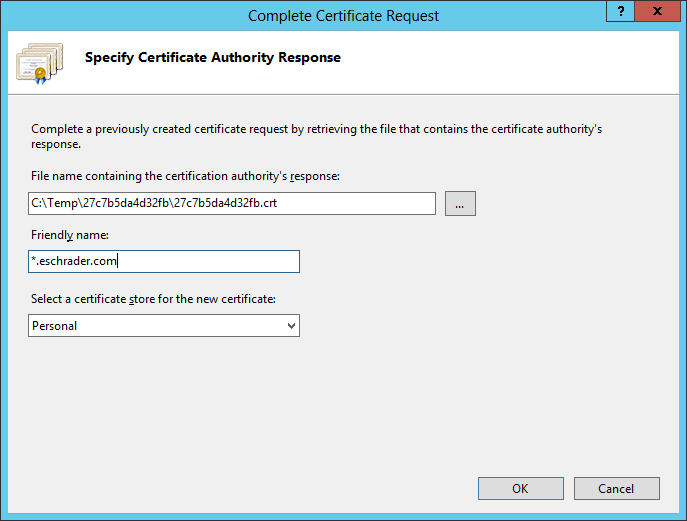
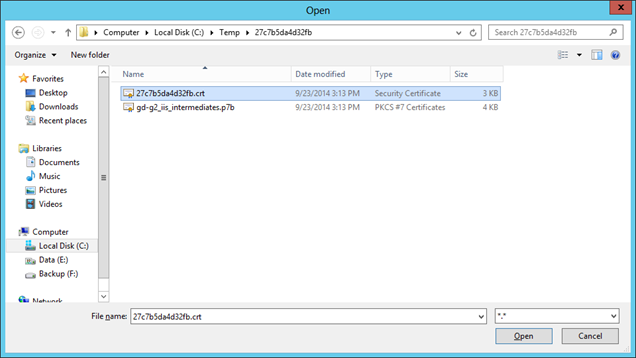
Export again as CER – DER 509 CRT to Desktop
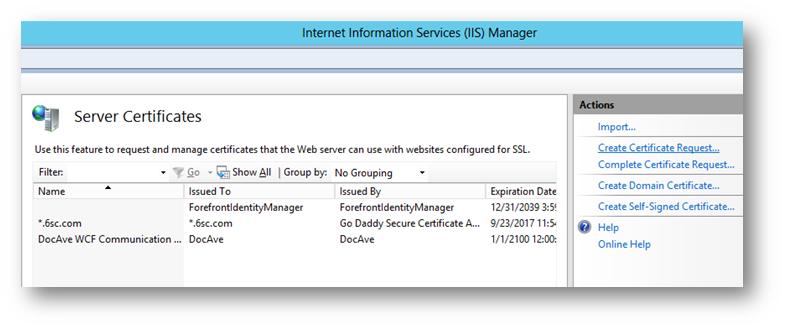
Upload CER file to Azure:
Get-AzurePublishSettingsFile
Save Certificate from Azure when prompted to download: C:\temp\
Import-AzurePublishSettingsFile “C:\temp\Windows Azure MSDN – Visual Studio Premium-12-3-2013-credentials.publishsettings”
Test a random command to verify PowerShell is connected: (Your storage account name below):
Get-AzureStorageAccount portalvhdsfz7h5hgfmhh4k
Start conversion while waiting (VHDX to VHD)
convert-vhd -path “E:\Hyper-V\Virtual Hard Disks\MS Office Demo\2013-DC v4 (Complete)\2013-DC Complete v4\Virtual Hard Disks\2013-DC.VHDX” -DestinationPath “E:\Hyper-V\Virtual Hard Disks\MS Office Demo\2013-DC v4 (Complete)\2013-DC Complete v4\Virtual Hard Disks\2013-DC.VHD”
convert-vhd -path “E:\Hyper-V\Virtual Hard Disks\MS Office Demo\2013-SP v4 (Complete)\2013-SP Complete v4\Virtual Hard Disks\2013-SP.VHDX” -DestinationPath “E:\Hyper-V\Virtual Hard Disks\MS Office Demo\2013-SP v4 (Complete)\2013-SP Complete v4\Virtual Hard Disks\2013-SP.VHD”
convert-vhd -path “E:\Hyper-V\Virtual Hard Disks\MS Office Demo\2013-VPN v4 (Complete)\2013-VPN Complete v4\Virtual Hard Disks\2013-VPN.VHDX” -DestinationPath “E:\Hyper-V\Virtual Hard Disks\MS Office Demo\2013-VPN v4 (Complete)\2013-VPN Complete v4\Virtual Hard Disks\2013-VPN.VHD”
Upload VHDs:
Add-AzureVhd -Destination http://portalvhdsfz7h5hgfmhh4k.blob.core.windows.net/vhds/2013-dc.vhd -LocalFilePath “E:\Hyper-V\Virtual Hard Disks\MS Office Demo\2013-DC v4 (Complete)\2013-DC Complete v4\Virtual Hard Disks\2013-DC.VHD” -NumberOfUploaderThreads 32 -OverWrite
Add-AzureVhd -Destination http://portalvhdsfz7h5hgfmhh4k.blob.core.windows.net/vhds/2013-SP.vhd -LocalFilePath “E:\Hyper-V\Virtual Hard Disks\MS Office Demo\2013-SP v4 (Complete)\2013-SP Complete v4\Virtual Hard Disks\2013-SP.VHD” -NumberOfUploaderThreads 32 -OverWrite
Add-AzureVhd -Destination http://portalvhdsfz7h5hgfmhh4k.blob.core.windows.net/vhds/2013-VPN.vhd -LocalFilePath “E:\Hyper-V\Virtual Hard Disks\MS Office Demo\2013-VPN v4 (Complete)\2013-VPN Complete v4\Virtual Hard Disks\2013-VPN.VHD” -NumberOfUploaderThreads 32 -OverWrite?
Add VHD to VM Image
Add-AzureVMImage -ImageName SP2013-DC -MediaLocation http://portalvhdsfz7h5hgfmhh4k.blob.core.windows.net/vhds/2013-dc.vhd -OS Windows -Label SP2013-DC -ImageFamily “Microsoft Office Demo SharePoint 2013 w content” -Eula http://go.microsoft.com/fwlink/?LinkID=324375 -PrivacyUri http://go.microsoft.com/fwlink/?LinkID=282418 -RecommendedVMSize Medium -Verbose
VERBOSE: 2:20:55 PM – Begin Operation: Add-AzureVMImage
VERBOSE: 2:21:03 PM – Completed Operation: Add-AzureVMImage
AffinityGroup :
Category : User
Location : West US
LogicalSizeInGB : 41
Label : SP2013-DC
MediaLink : http://portalvhdsfz7h5hgfmhh4k.blob.core.windows.net/vhds/2013-dc.vhd
ImageName : SP2013-DC
OS : Windows
Eula : http://go.microsoft.com/fwlink/?LinkID=324375
Description :
ImageFamily : Microsoft Office Demo SharePoint 2013 w content
PublishedDate :
IsPremium : False
IconUri :
PrivacyUri : http://go.microsoft.com/fwlink/?LinkID=282418
RecommendedVMSize : Medium
PublisherName : User
OperationDescription : Add-AzureVMImage
OperationId : 4e871f30-af08-3f06-95e3-ef9b72913288
OperationStatus : Succeeded
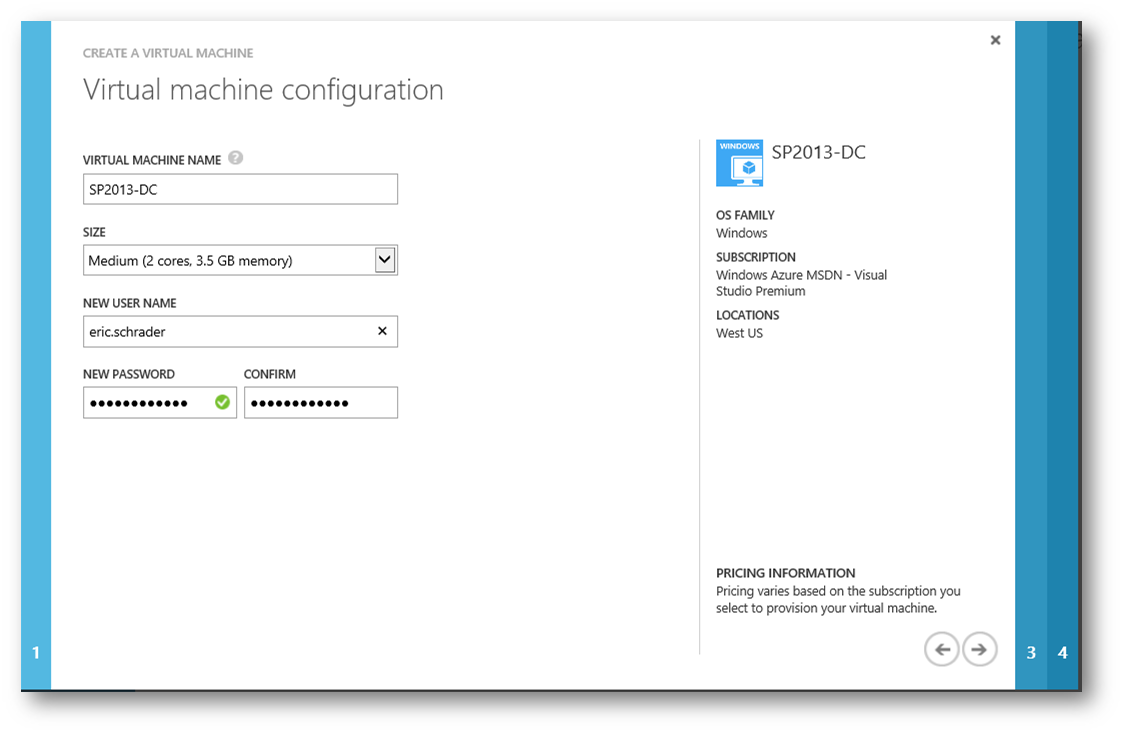
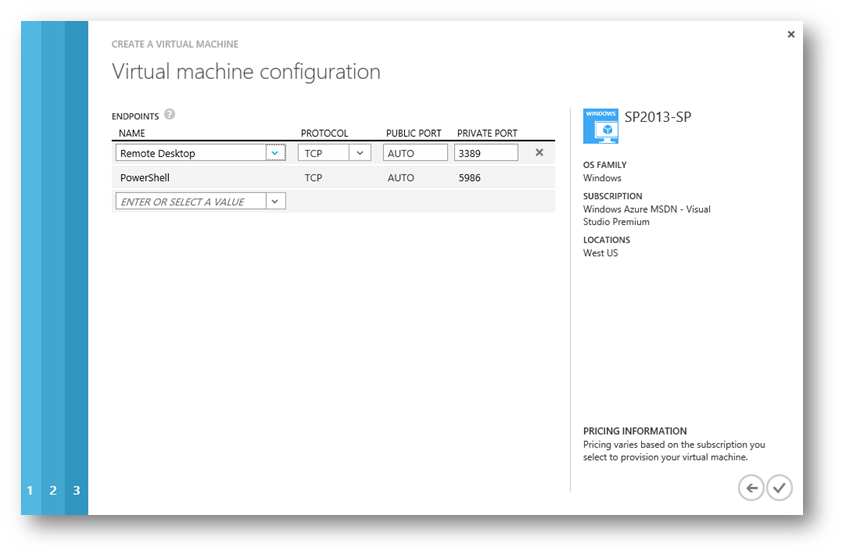
Create VM
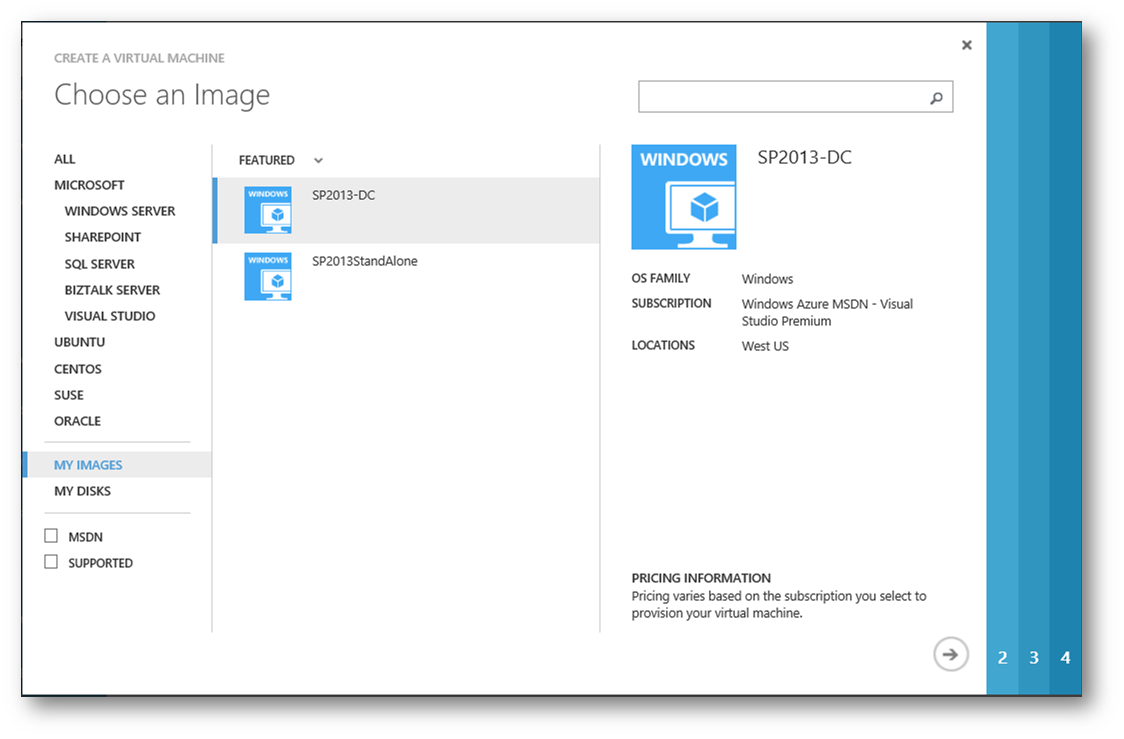
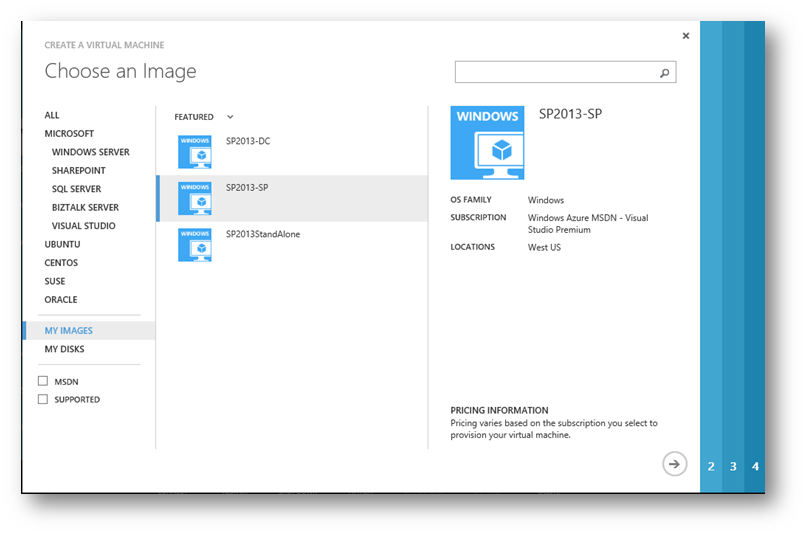
Go to Azure, Create new Virtual Machine. Choose My Images. Choose SP2013-DC
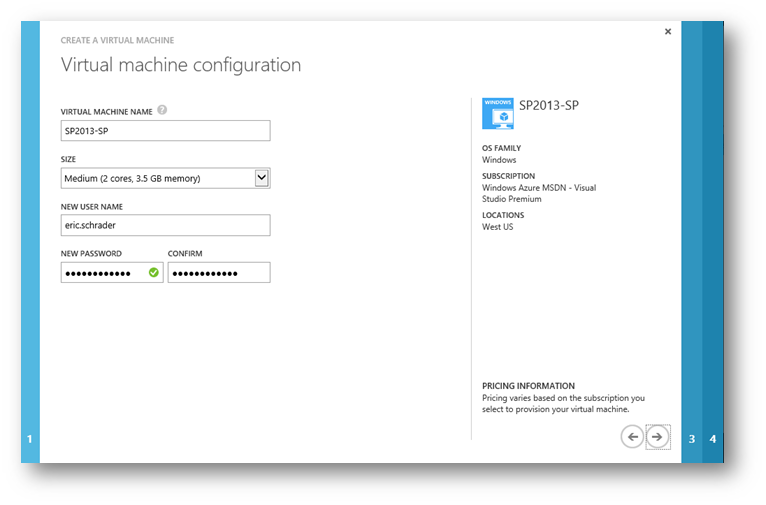
Chose a unique local user account (probably wont be used) and non-common password.
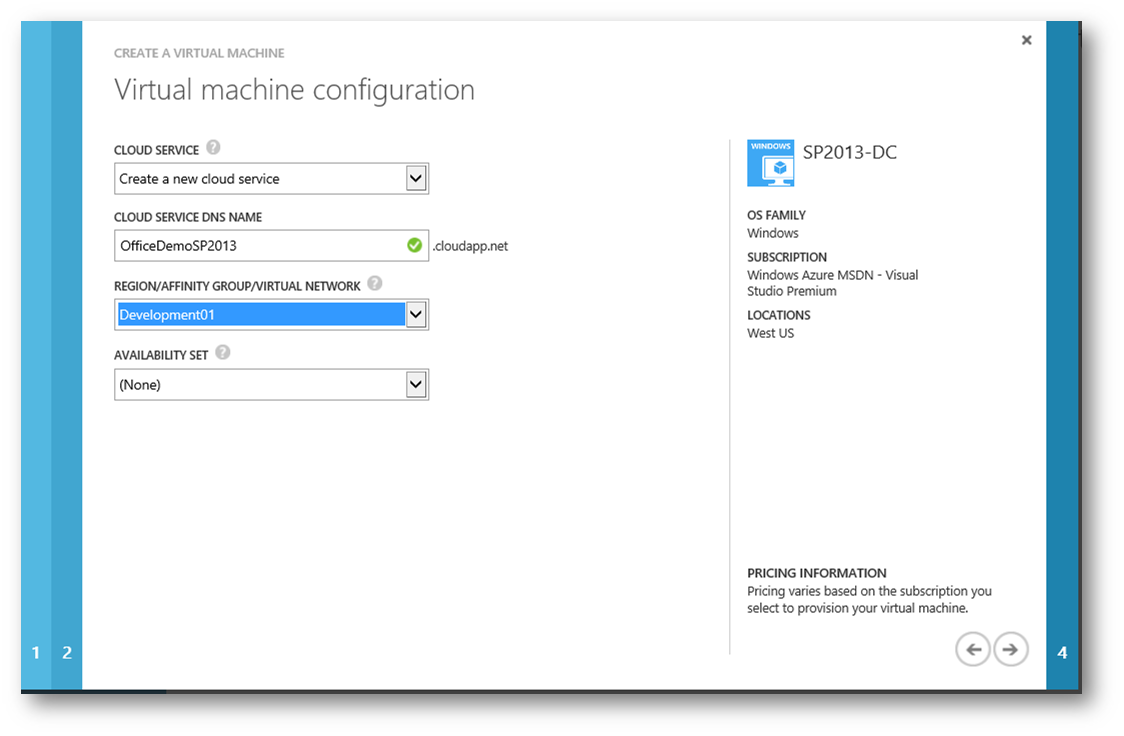
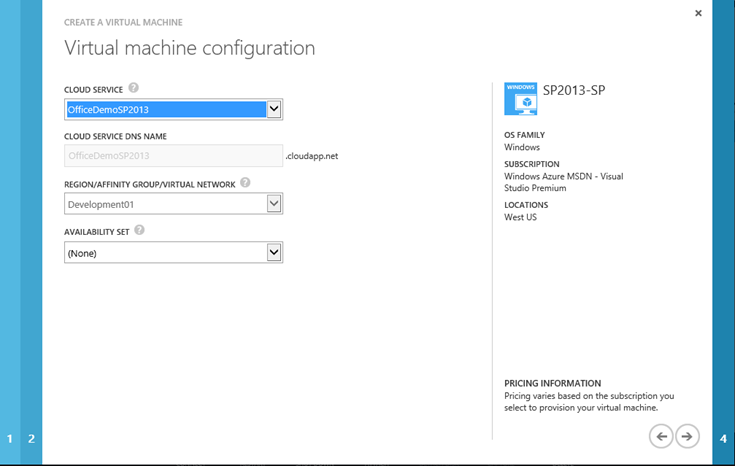
Select a region or affinity group (I have an affinity Group)
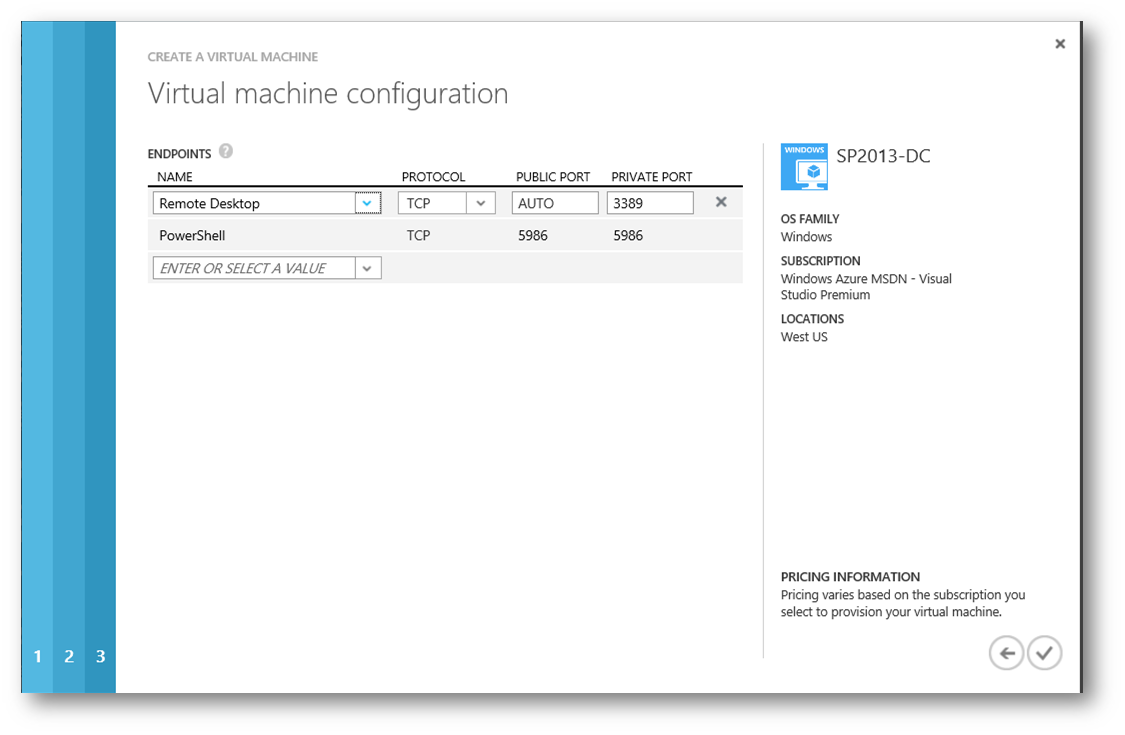
Open Port for RDP and PS for now. Later we might have to add more for the DC, etc.
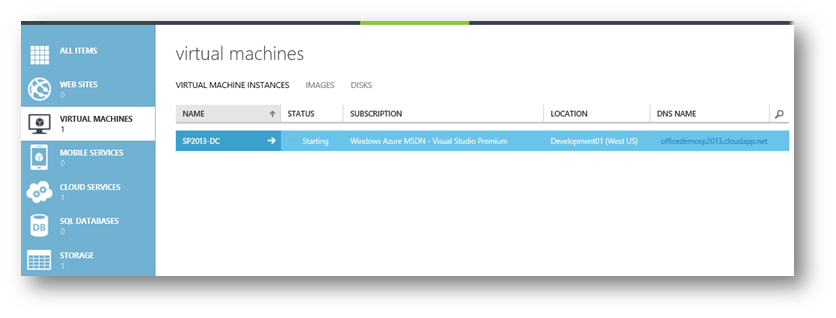
Wait for the VM to provision.
Connect using contoso\administrator. Password is pass@word1
Repeat and create the SharePoint VM
Add VHD to VM Image
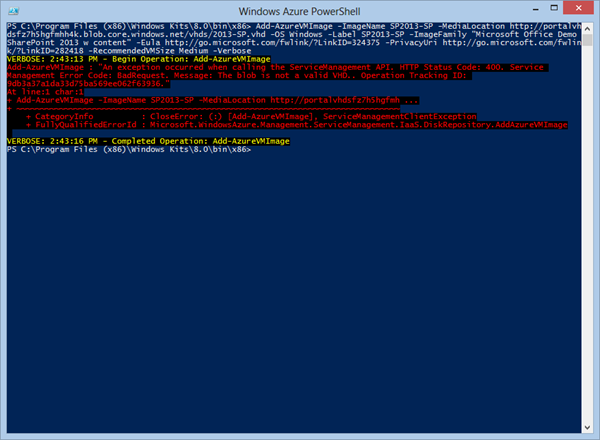
Add-AzureVMImage -ImageName SP2013-SP -MediaLocation http://portalvhdsfz7h5hgfmhh4k.blob.core.windows.net/vhds/2013-SP.vhd -OS Windows -Label SP2013-SP -ImageFamily “Microsoft Office Demo SharePoint 2013 w content” -Eula http://go.microsoft.com/fwlink/?LinkID=324375 -PrivacyUri http://go.microsoft.com/fwlink/?LinkID=282418 -RecommendedVMSize Medium -Verbose
If you get an error, its because the dynamic disk on the SP box is an issue: http://social.msdn.microsoft.com/Forums/windowsazure/en-US/e5feddff-7fee-49b4-86e2-751a1903e852/the-blob-is-not-a-valid-vhd
My error turned out that the VHD was not uploaded correctly. Retried uploading and it worked.
Add-AzureVMImage : “An exception occurred when calling the ServiceManagement API. HTTP Status Code: 400. Service
Management Error Code: BadRequest. Message: The blob is not a valid VHD.. Operation Tracking ID:
9db3a37a1da33d75ba569ee062f63936.”
At line:1 char:1
+ Add-AzureVMImage -ImageName SP2013-SP -MediaLocation http://portalvhdsfz7h5hgfmh …
+ ~~~~~~~~~~~~~~~~~~~~~~~~~~~~~~~~~~~~~~~~~~~~~~~~~~~~~~~~~~~~~~~~~~~~~~~~~~~~~~~~
+ CategoryInfo : CloseError: (:) [Add-AzureVMImage], ServiceManagementClientException
+ FullyQualifiedErrorId : Microsoft.WindowsAzure.Management.ServiceManagement.IaaS.DiskRepository.AddAzureVMImage
Back to square 1. Its takes 6 hours to upload this VHD at 30mbps.
Reupload:
Add-AzureVhd -Destination http://portalvhdsfz7h5hgfmhh4k.blob.core.windows.net/vhds/2013-SP.vhd -LocalFilePath “E:\Hyper-V\Virtual Hard Disks\MS Office Demo\2013-SP v4 (Complete)\2013-SP Complete v4\Virtual Hard Disks\2013-SP.VHD” -NumberOfUploaderThreads 32 -OverWrite
Convert VHD to VM template:
Add-AzureVMImage -ImageName SP2013-SP -MediaLocation http://portalvhdsfz7h5hgfmhh4k.blob.core.windows.net/vhds/2013-SP.vhd -OS Windows -Label SP2013-SP -ImageFamily “Microsoft Office Demo SharePoint 2013 w content” -Eula http://go.microsoft.com/fwlink/?LinkID=324375 -PrivacyUri http://go.microsoft.com/fwlink/?LinkID=282418 -RecommendedVMSize Medium -Verbose
VERBOSE: 7:26:47 AM – Begin Operation: Add-AzureVMImage
VERBOSE: 7:26:53 AM – Completed Operation: Add-AzureVMImage
AffinityGroup :
Category : User
Location : West US
LogicalSizeInGB : 127
Label : SP2013-SP
MediaLink : http://portalvhdsfz7h5hgfmhh4k.blob.core.windows.net/vhds/2013-SP.vhd
ImageName : SP2013-SP
OS : Windows
Eula : http://go.microsoft.com/fwlink/?LinkID=324375
Description :
ImageFamily : Microsoft Office Demo SharePoint 2013 w content
PublishedDate :
IsPremium : False
IconUri :
PrivacyUri : http://go.microsoft.com/fwlink/?LinkID=282418
RecommendedVMSize : Medium
PublisherName : User
OperationDescription : Add-AzureVMImage
OperationId : e493b45b-d214-3fe1-a5b8-6c21a349f670
OperationStatus : Succeeded
Create VM
Go to Azure, Create new Virtual Machine. Choose My Images. Choose SP2013-SP
Chose a unique local user account (probably wont be used) and non-common password.
Select a Cloud Service from previous DC vm:
Open Port for RDP and PS for now. Later we might have to add more for SP, etc.
Wait for the VM to provision.

Connect using contoso\administrator. Password is pass@word1
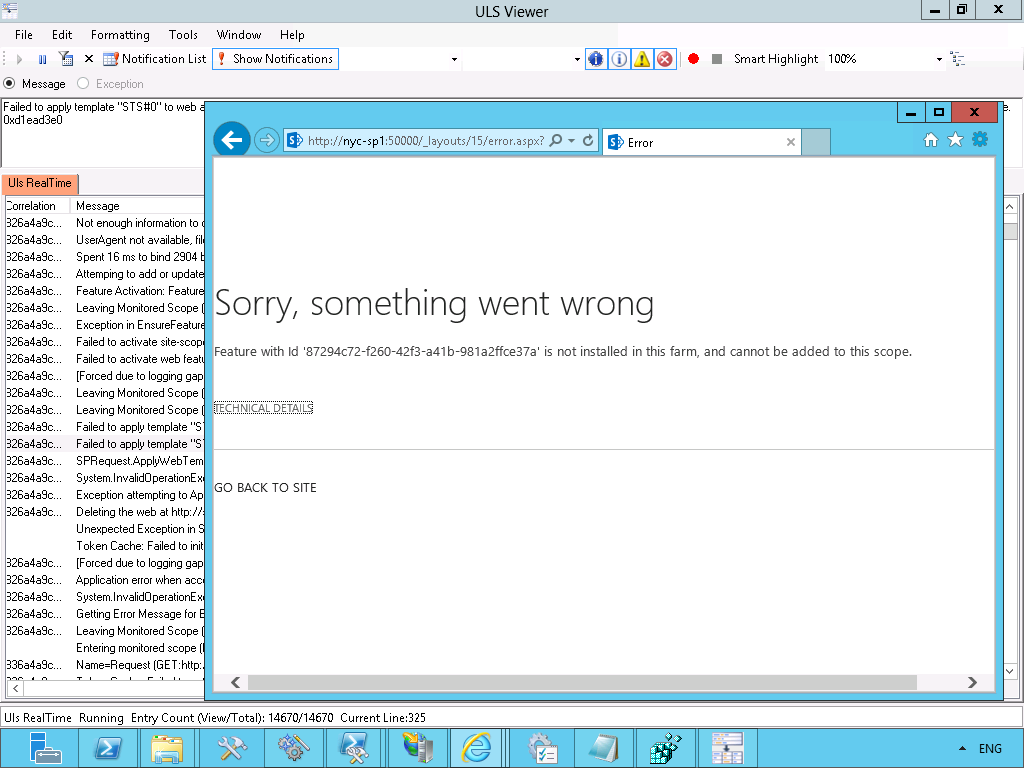
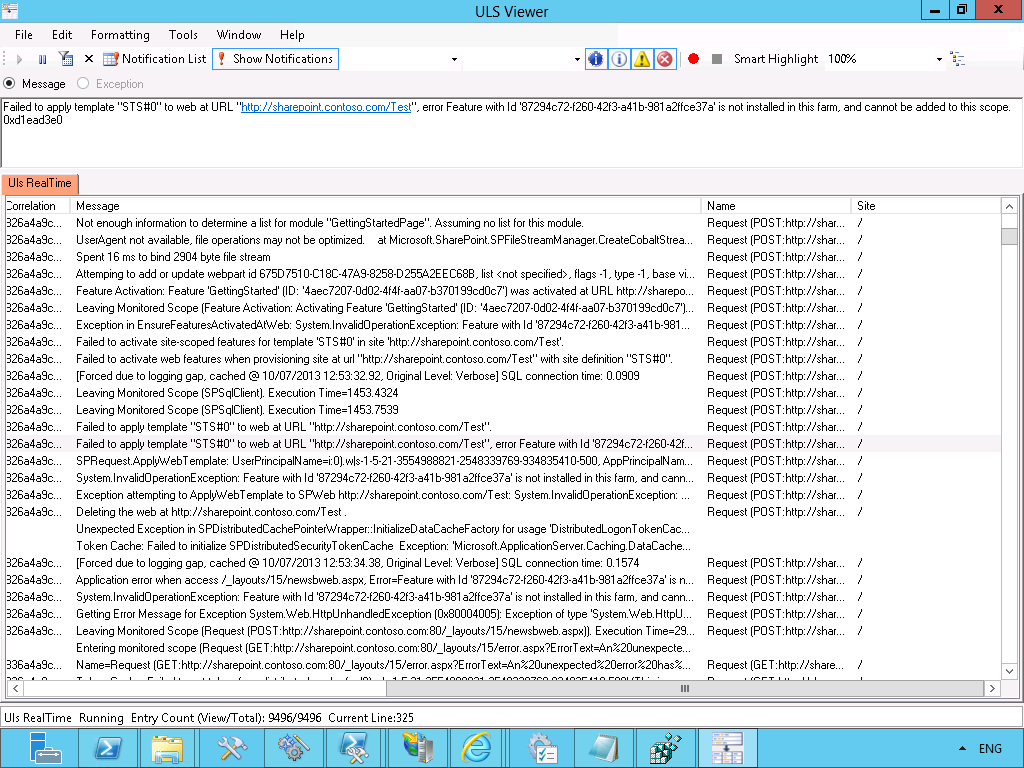
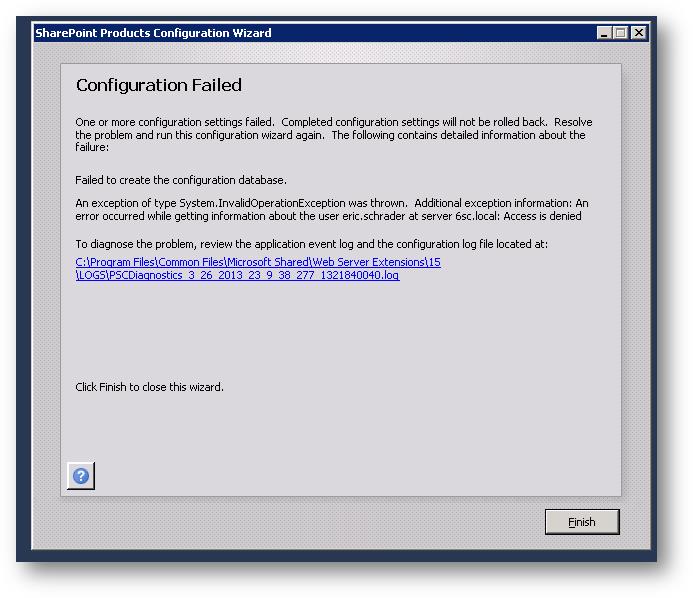
Fixing the SharePoint VM
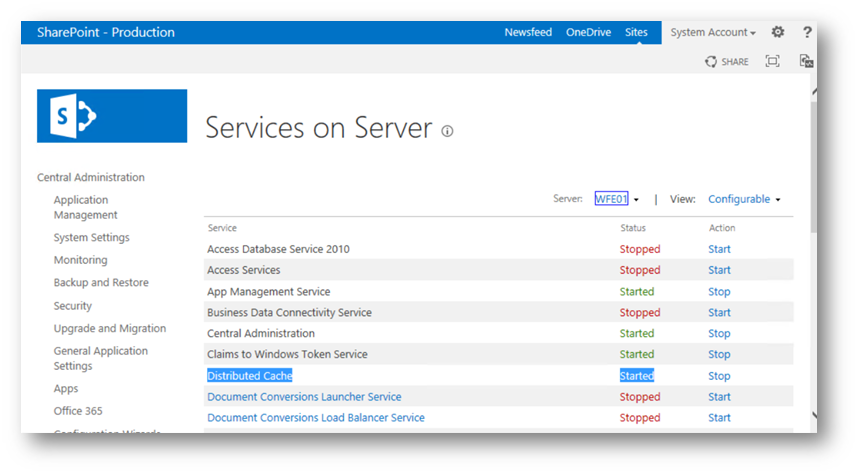
Looks like Central Admin (CA) loads, but not the DNS host names for http://intranet.contoso.com. This is not a big deal but let’s trace the issue.
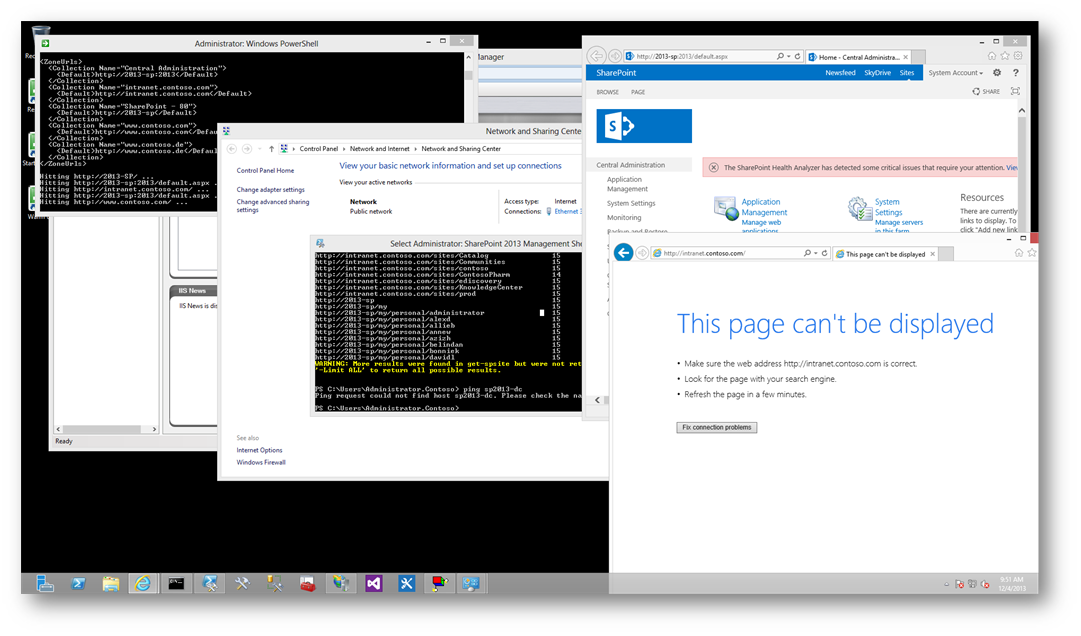
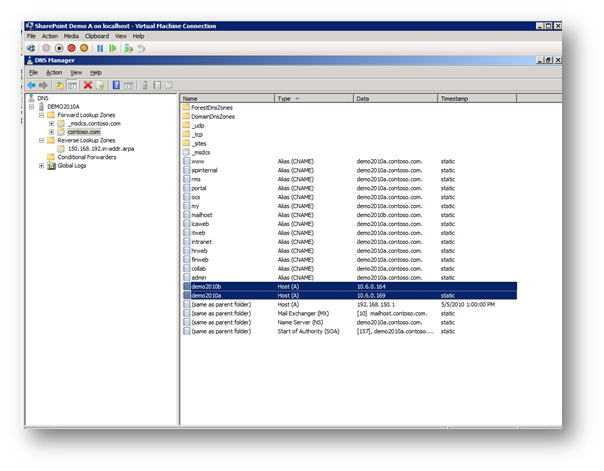
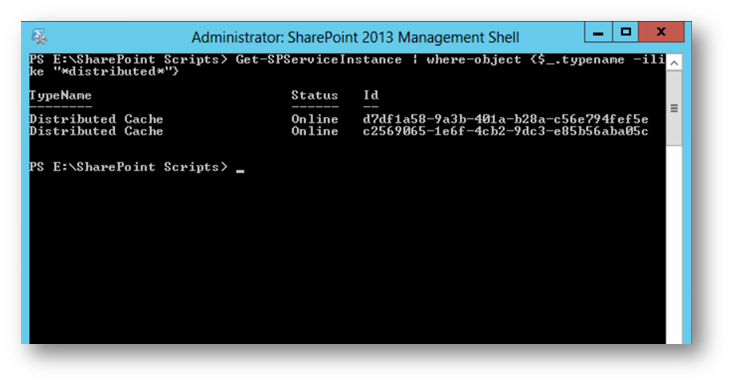
Let’s trace the DNS. SP2013-DC is the DNS/DHCP/AD server.
Log in to the SP2013-DC VM.
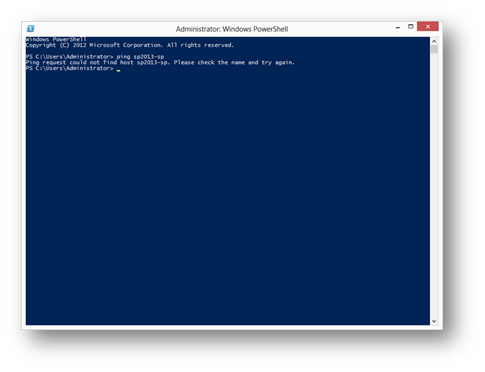
Try to ping SP2013-SP, we can’t. That means Azure is taking over our DNS.
You can configure Azure to use your VM as a DC, but it looks complicated: http://msdn.microsoft.com/en-us/library/windowsazure/jj156088.aspx#bkmk_BYODNS
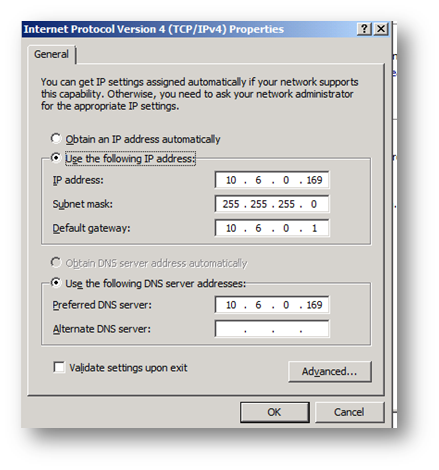
I will just update my hosts file for now under C:\Windows\System32\Drivers\etc:
127.0.0.1 intranet.contoso.com
127.0.0.1 2013-sp
127.0.0.1 www.contoso.com
127.0.0.1 www.contoso.de
10.76.86.2 2013-dc
Be sure to update your DC IP under 2013-DC. Just do an IPConfig from the DC box.
Update: I just realized the VM image is called 2013-x, not SP2013-x. I don’t think Azure needs this info to match from what I can gather at this moment.
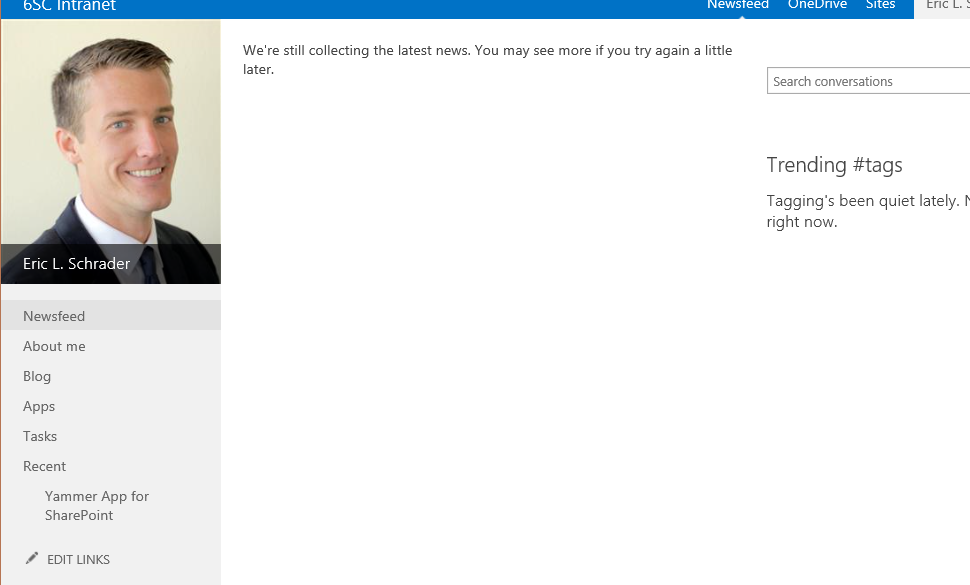
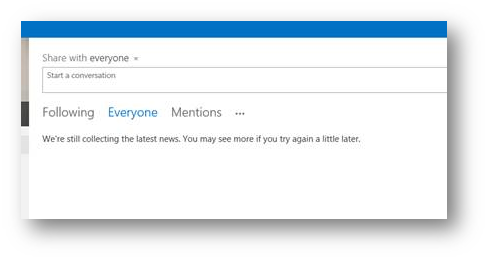
Open Internet Explorer from the 2013-SP box and go to www.contoso.com and intranet.contoso.com
Its pretty slow, but I get a SharePoint start page. www.contoso.de challenges me for credentials, I think its because I am rebooting the DC.
I made the DC an Extra Small CPU, since its only at 3% CPU on a Medium footprint.
The SP box is 97% cpu in the past hour, so I want to make it a Large footprint, but its still provisioning.
I also want to open some incoming ports for mydomain.cloudapp.net so users can come in using their web browser.
Resources:
Storage issues
Using Azure disks not sysprepped (DC, SP farm, etc) http://blog.aditi.com/cloud/guide-to-azure-iaas-vhds-disks-images/
Uploading a VHD to Azure (Latest instructions from Official Azure site) http://www.windowsazure.com/en-us/manage/windows/common-tasks/upload-a-vhd/
Azure VHD dynamic disk error: http://social.msdn.microsoft.com/Forums/windowsazure/en-US/e5feddff-7fee-49b4-86e2-751a1903e852/the-blob-is-not-a-valid-vhd
VHDX
Lessons learned uploading a VHDX to Azure: (see step #27) http://blogs.catapultsystems.com/cmoore/archive/2013/04/30/one-does-not-simply-upload-a-vm-to-azure.aspx
Converting VHDX to VHD http://blogs.technet.com/b/cbernier/archive/2013/08/29/converting-hyper-v-vhdx-to-vhd-file-formats-for-use-in-windows-azure.aspx
Convert-VHD command http://technet.microsoft.com/en-us/library/hh848454.aspx
Azure PowerShell trust certs
Add Certificates to MMC: http://social.technet.microsoft.com/wiki/contents/articles/2167.how-to-use-the-certificates-console.aspx
Convert PFX to CER: http://stackoverflow.com/questions/403174/convert-pfx-to-cer
Visual Studio: makecert- http://msdn.microsoft.com/en-us/library/bfsktky3(v=vs.110).aspx
Add-AzureVHD http://msdn.microsoft.com/en-us/library/dn205185.aspx
Networking
Azure DNS- http://msdn.microsoft.com/en-us/library/windowsazure/jj156088.aspx#bkmk_BYODNS


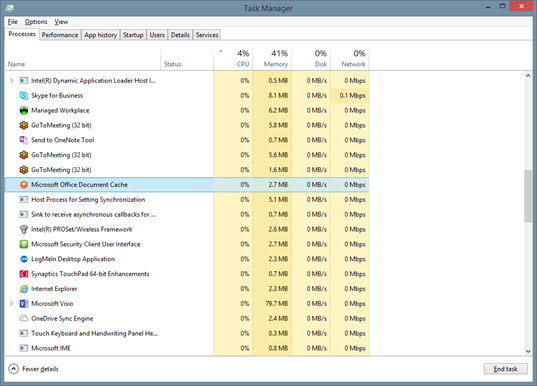
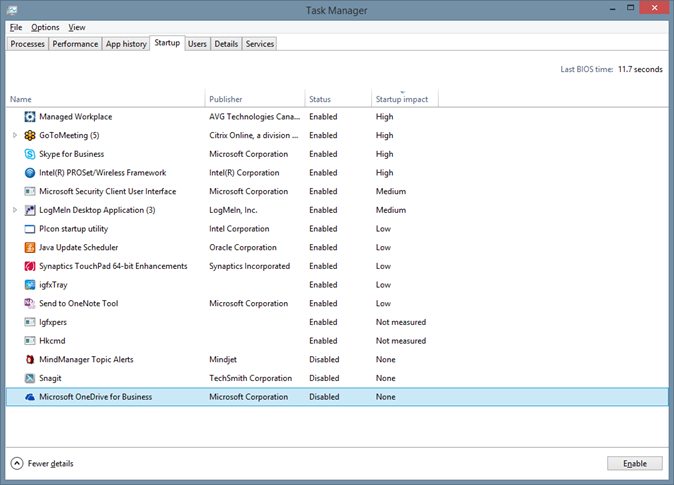 Summary: OneDrive for Business conflicts with Microsoft Office Document Cache and it might be a 64bit/32bit issue, not sure, but disabling OneDrive for Business on startup resolves the issue for me. I will post if there are any noticeable side effects of file offline caching, stale cache, or other errors. I think this happened to me only because I configured OneDrive for Business to resolve this issue when I first got my laptop, not sure why the laptop originally had the issue. Again, if there’s a better way, please comment below. Thanks!