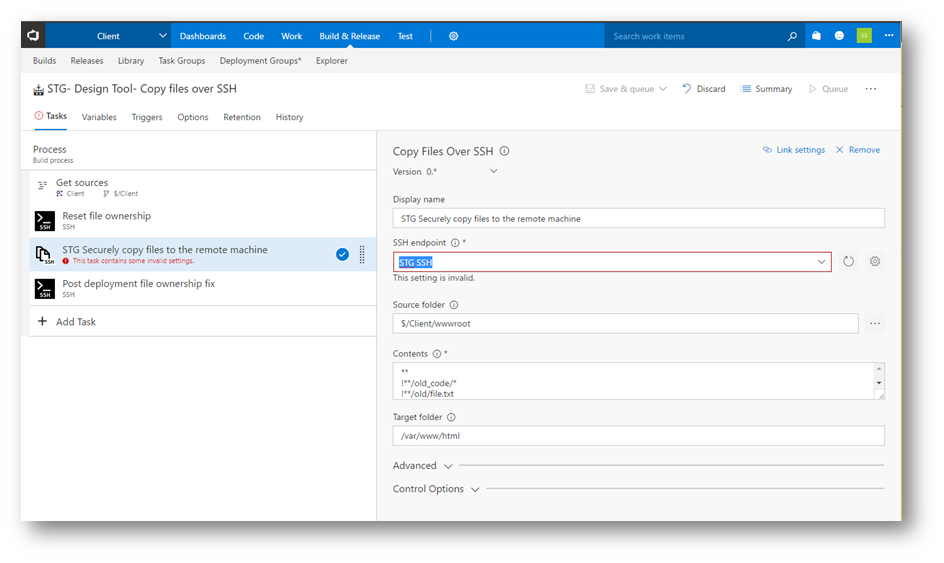
One common request when working with SharePoint sites is having a consistent navigation across multiple site collections. If you are using a Publishing Portal site template, you can use the Managed Navigation for your Global Navigation (or top navigation). This also supports drop downs. I did a quick test and it appears to support highlighting of the current element, which is nice considering the URLs are hard coded rather than dynamically added.
As for security, MS indicates the term store navigation supports security trimming as follows: “Note that if users don’t have access to the physical .aspx page (read permissions at least), the link won’t appear in menus even if these options are checked. By this way you can also control links displayed to users according to permissions. It follows the same behavior as the default SharePoint navigation menus.”
The drawback: You have to create a term set in each site collections Managed Navigation, pin EACH of your parent term navigation items (but it includes child terms at least). Its a lot of work, but the only way without custom code. Other options I have seen discussed are using Search web parts or CSOM, etc. Possibly 3rd party solutions. This does not work on new modern team sites (at least at the time of writing this), I get “access denied” when trying to enable Managed Navigation, even after turning on Publishing for the site/web.
Managed Navigation:
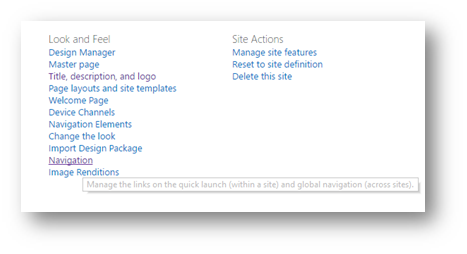
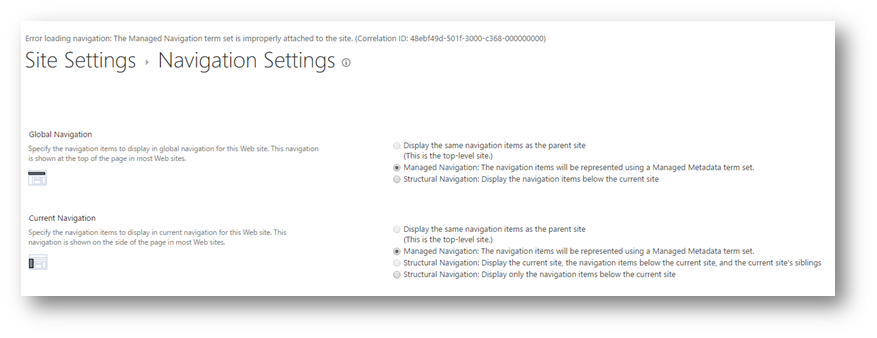
Under the target site collection(s), configure your navigation from Site Settings
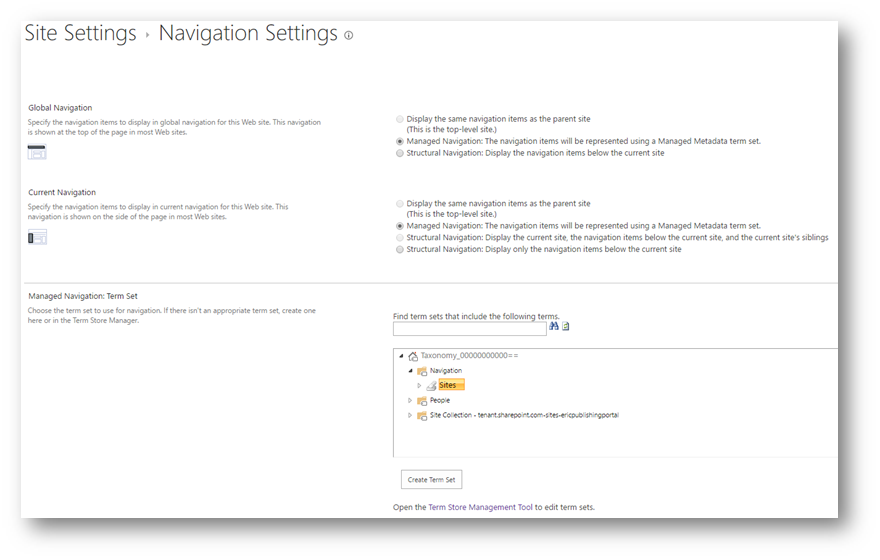
Ensure Managed Navigation is checked under Global Navigation:
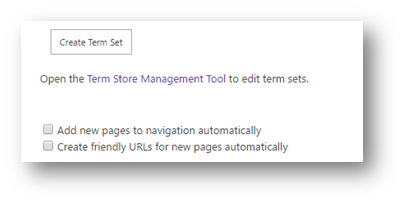
Uncheck:
Next, rather than creating a new term set from the site collection, do it in SharePoint Admin Center.
Go to the Admin tile:
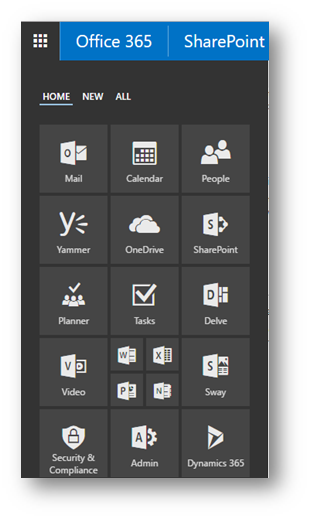
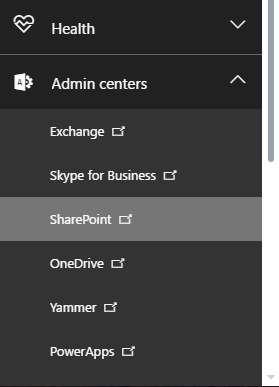
Go to SharePoint under Admin Centers:
Select Term Store on left navigation:
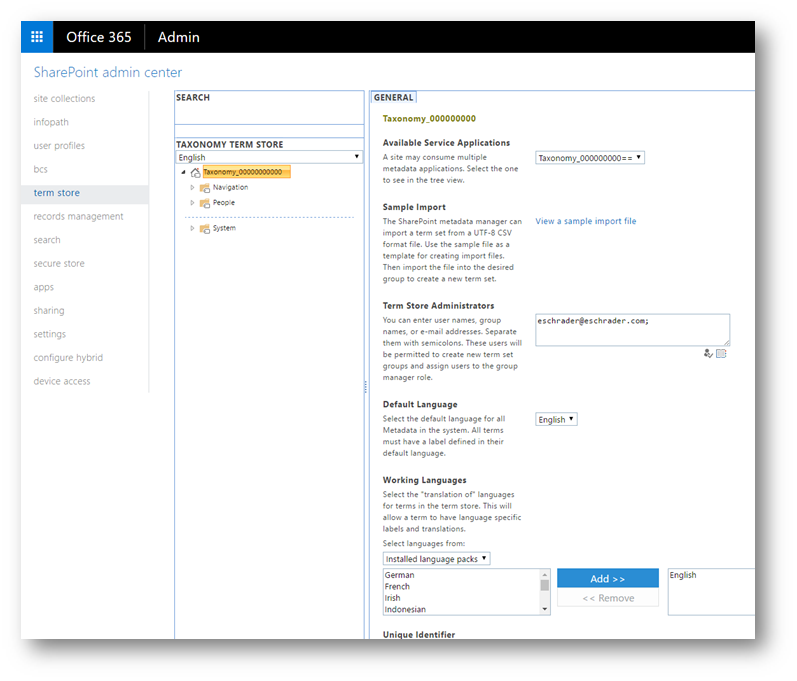
Add your organizational tenant email to Term Store Administrators, save and reload the page.
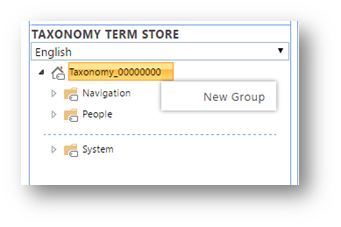
Then, select the root term store for your O365 tenant, and select New Group:
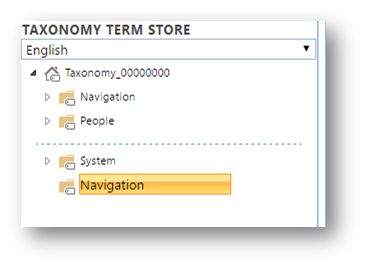
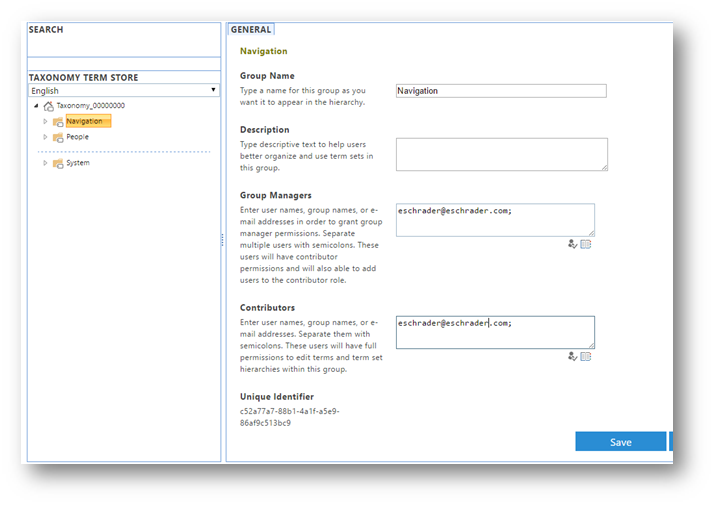
Type in the orange input box, call it Navigation or something unique:
Select your new term group, and add yourself as a Group Manager and Contributor:
Create new Term Set under the group:

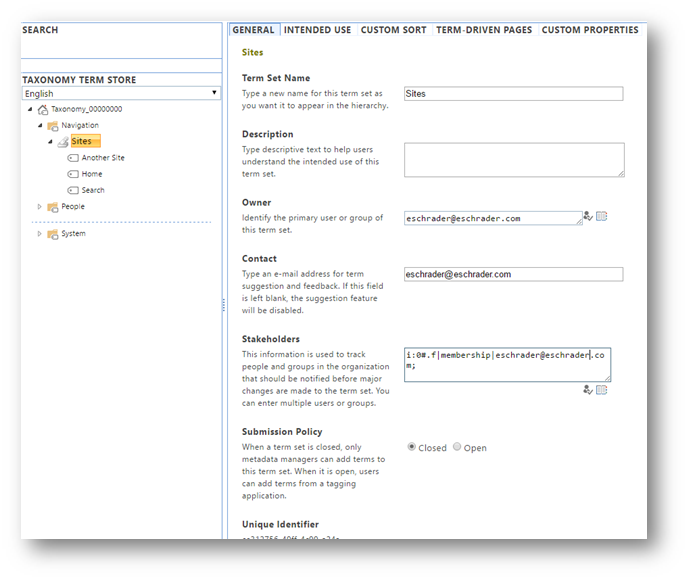
I just called mine Sites, but this is the actual element you will be selecting for your navigation. All child terms will appear in the actual navigation menu.
Then, select the sites element and add yourself as Owner, Contact and Stakeholder and SAVE:
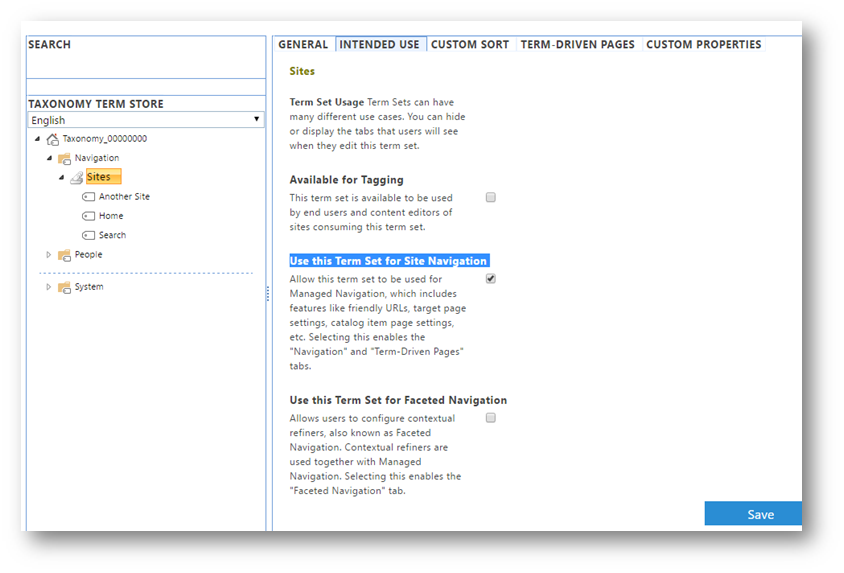
Go to the Intended Use tab at the top, and enable “Use this Term Set for Site Navigation”:
Note: I also see faceted navigation, which IF the product catalog is now possible in SharePoint Online I will do another post soon, as I have been waiting years for this. I remember the roadblock was something with search managed properties…
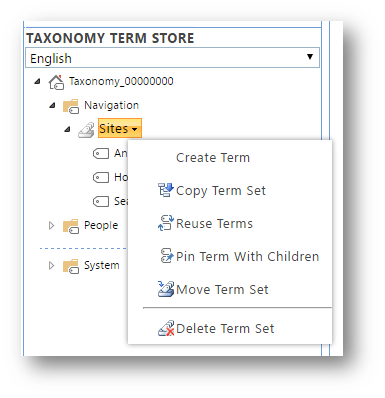
Then under your term set, add your terms by selecting Create Term:
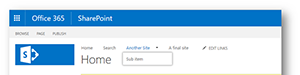
Go to Navigation tab and add your custom link:
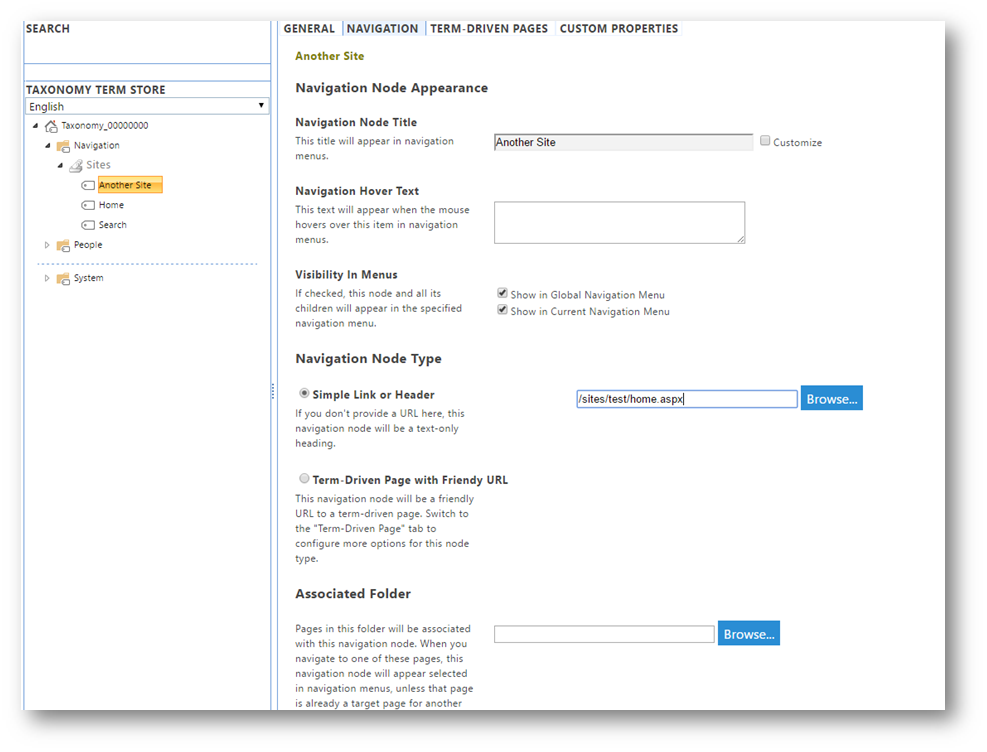
You can create sub terms under terms as well to enable a drop-down navigation.
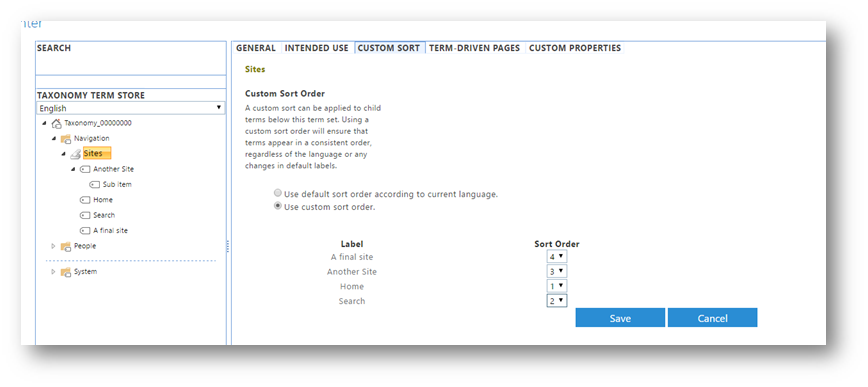
You can re-order terms in a group by selecting the group and going to Custom Sort:
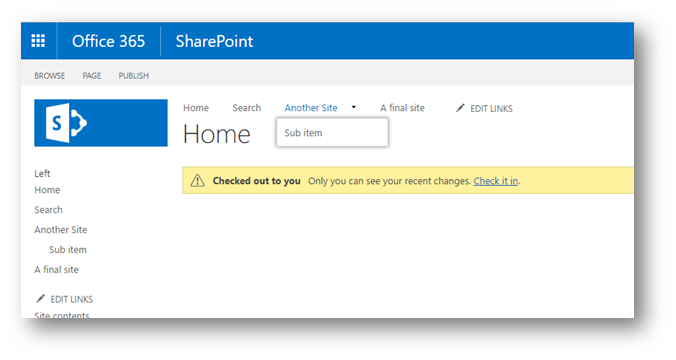
Now just repeat the first step of selecting Managed Navigation and the Term Group on each of your site collections you want to inherit this navigation.
Update: Selecting this term set is limited to 1 per site collection. So the workaround acording to MS is to “Pin” each of your primary terms (with children) to the new site collections term set. https://support.microsoft.com/en-us/help/3144166/implement-global-navigation-across-multiple-site-collections-through-managed-navigation-in-sharepoint-server-2013 see steps 5-7 One note, it doesn’t seem to preserve custom sorting from the parent term set.

Uncheck:

Done!

Note: if you see any errors (such as Error loading navigation: The Managed Navigation term set is improperly attached to the site), switch the navigation to Structural on BOTH Global and Current, SAVE the changes, then change it back to Managed (and uncheck Add new pages to navigation automatically and Create friendly URLs for new pages automatically) and the error should go away.
Uncheck: