Working with SharePoint 2010’s CoreV4.css is very difficult. I have developed a technique to allow developers to leverage SharePoints OOTB CoreV4.css selectors, but while not hacking together CSS selectors and dealing with !important and other CSS hacks.
Here is the concept:
Your SharePoint page will have 2 stylesheets on it, CoreV4.css and a new blank file, Custom.css. Custom.css will have the exact contents of CoreV4.css, but be attached AFTER coreV4.css so it overwrites the original. This will allow you to modify Custom.css (a copy of CoreV4.css) directly from the SharePoint Designer or the browser. You can use IE Developer Toolbar or Firebug to get the selectors SharePoint 2010 uses OOTB, search for that selector in Custom.css, modify it, then save and test. Repeat for each change.
Once complete, you will have CoreV4.css (original) and Custom.css, both two very large files.
This next step is optional, but highly recommended for Production. Take CoreV4.css, format the CSS so the selectors are each on their own line, along with their attributes all on the same line. This way you only have each line starting with the selector.
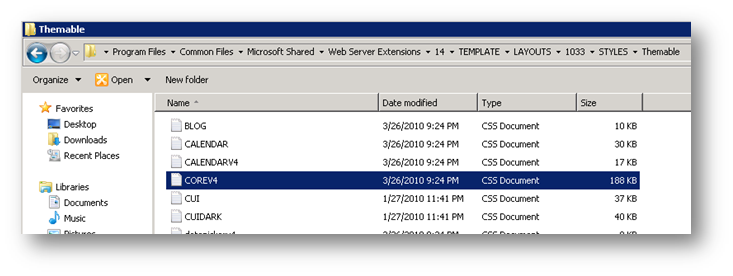
Figure 1- Copy the original CoreV4 from the backend to a local temporary drive to modify. Lcoation: C:\Program Files\Common Files\Microsoft Shared\Web Server Extensions\14\TEMPLATE\LAYOUTS\1033\STYLES\Themable
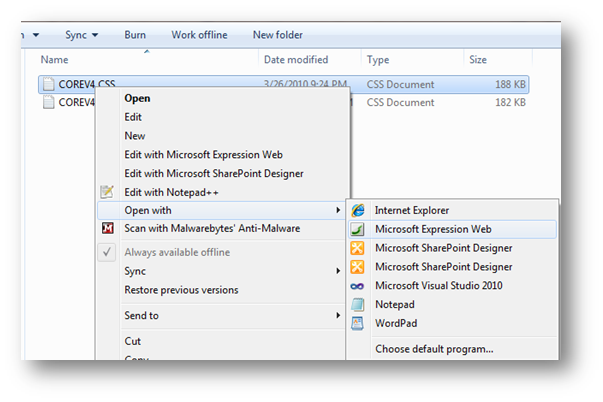
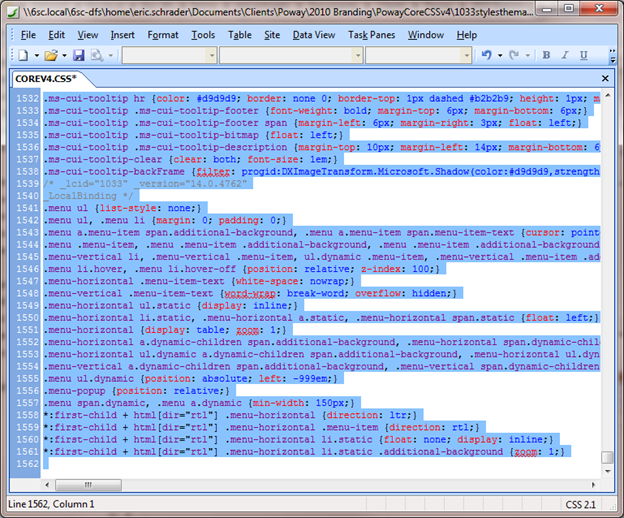
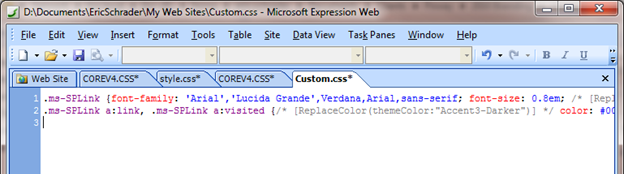
Once Copied locally, you can open it in Microsoft Expression Web:
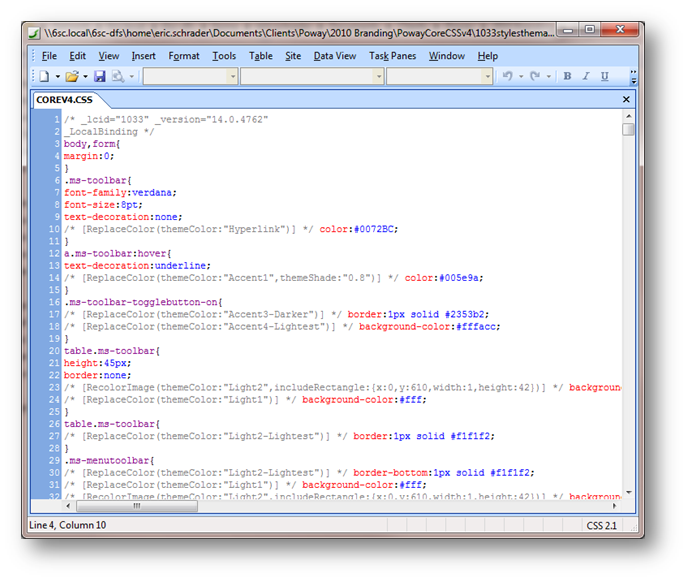
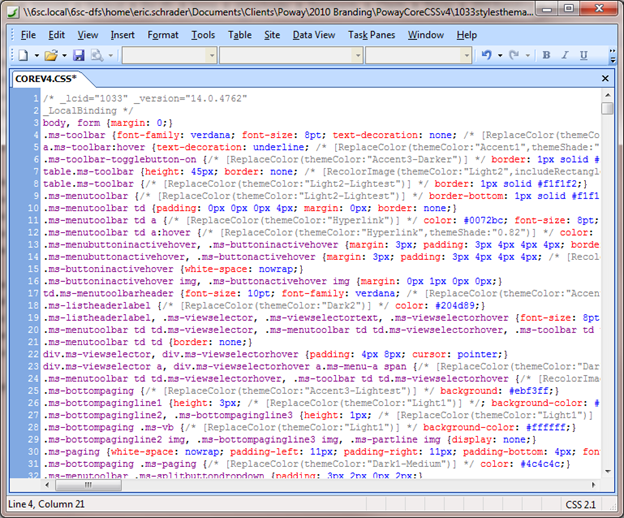
You should see:
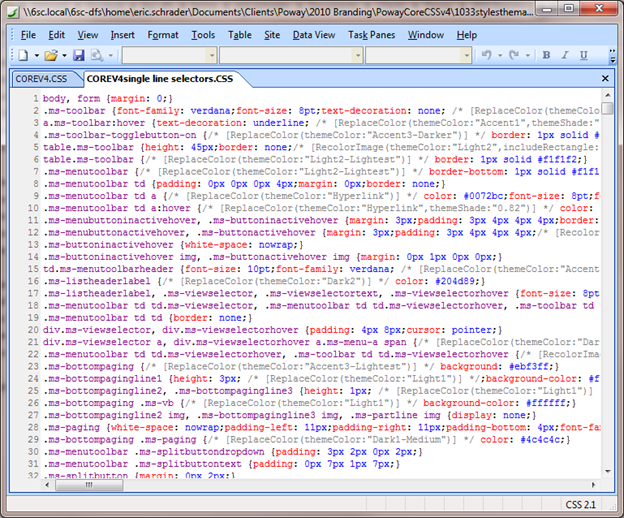
From here, we need to Reformat the CSS to have each selector on its own line, eg:
Here is how we do it:
In Expression Web, go to Tools> Page Editor Options
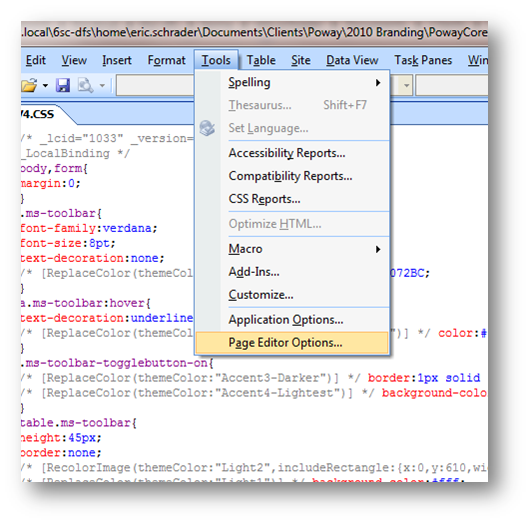
Click on the Code Formatting Tab
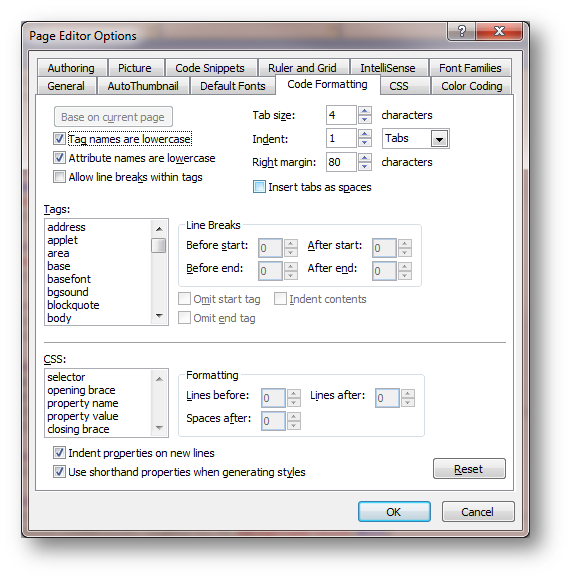
We will modify these formatting rules to put each selector on one line.
Under the bottom CSS section, modify the following:
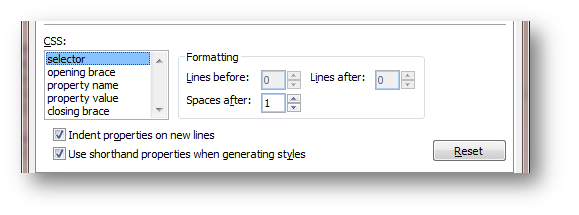
Figure 2- No changes to Selector
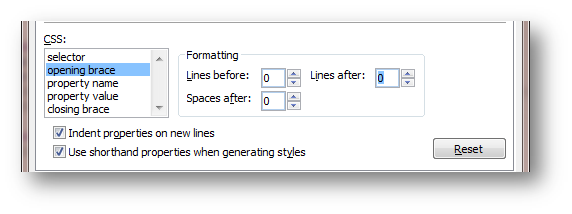
Figure 3- Change Lines After from 1 to 0
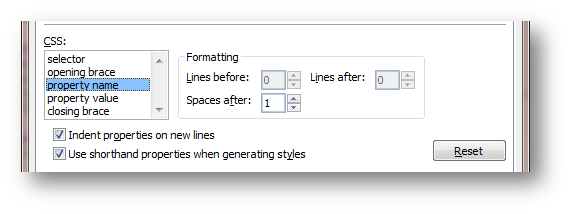
Figure 4- Property Name- No Changes
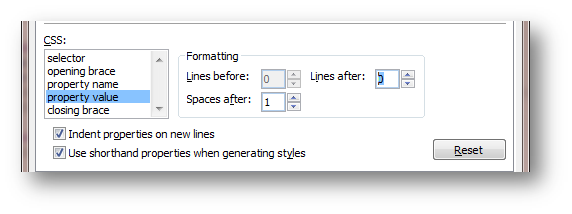
Figure 5-Proptery Value change Lines after from 1 to 0
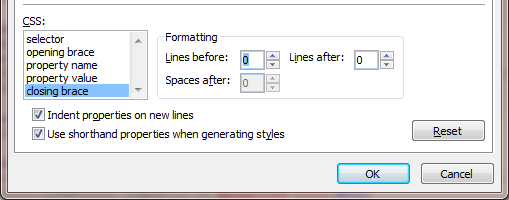
Figure 6- Closing Brace change Lines Before from 1 to 0, HIT OK
Now we can format our CoreV4.css copy to have each selector on its own line:

Figure 7- Right click on CoreV4.css in the Code view and go to Reformat CSS (Note, the file extention is .css)
Your CSS should all be on one line:
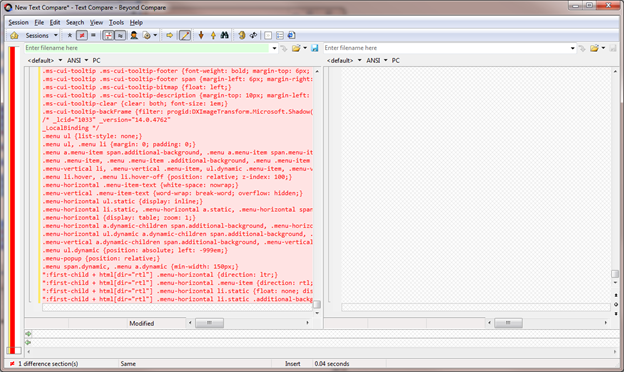
Repeat the same steps for Custom.css (figure 7 and 8 above) (the copy of CoreV4.css you have been modifying. Once Custom.css looks like above, but with your changes, we can compare the two files and extract only the changed lines as an overwritter CSS file for Corev4.css )
I use Beyond Compare for this next step to compare the changes. You can use any tool that allows you to compare two text files and ONLY VIEW DIFFERENCES, and ALLOWS YOU TO EXTACT (copy and paste) OUT ONLY THE CHANGED LINES!
In Beyond Compare, do a new TEXT compare:
Figure 8- Click Text Compare from the button
Copy CoreV4.css
Paste on the left of the text compare:
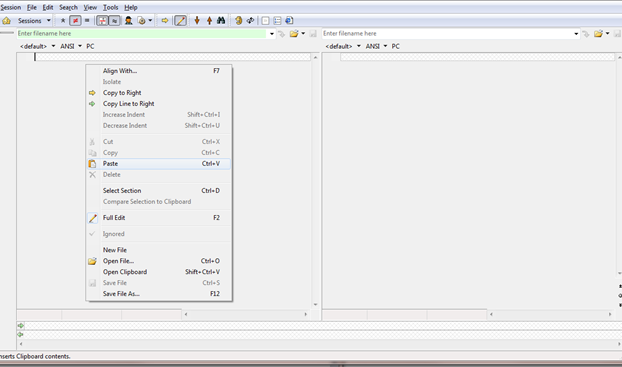
Figure 9- Paste on left
Copy Custom.css, (MAKE SURE ITS FORMATTED THE SAME AS COREv4.css, ALL SELECTORS ON OWN LINE)
Paste on the right side (MAKE SURE YOU ARE ON THE FIRST LINE, SCROLL TO THE TOP BEFORE YOU PASTE!) of the text compare:
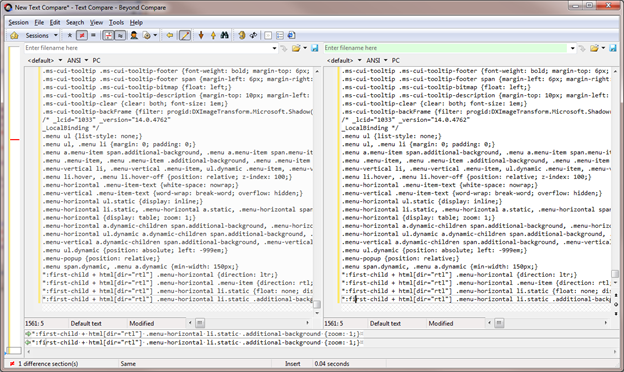
Now apply a filter to the comparison to only show changes:
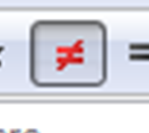
Figure 10-Click Show Differences from the top bar.
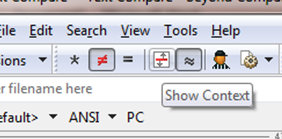
Figure 11- Uncheck Show Context (one with the up and down arrows and the red line)
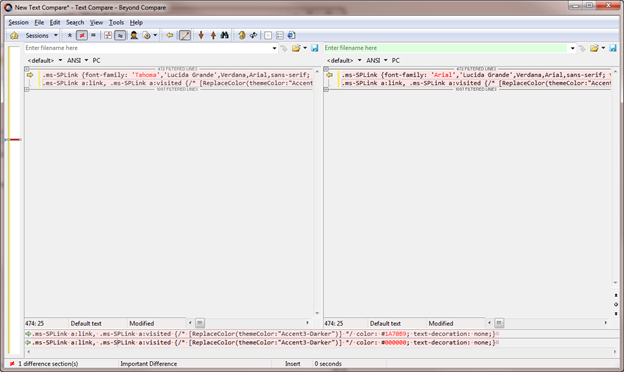
Copy out the code on the right side with Select all, then Copy it.
Now you can paste this code over your Custom.css file to only have the CSS Overwritters
.ms-SPLink {font-family: ‘Arial’,’Lucida Grande’,Verdana,Arial,sans-serif; font-size: 0.8em; /* [ReplaceColor(themeColor:”Accent3-Darker”)] */; color: #1A70B9;}
.ms-SPLink a:link, .ms-SPLink a:visited {/* [ReplaceColor(themeColor:”Accent3-Darker”)] */ color: #000000; text-decoration: none;}
My code, I changed the Font to Arial and the font color to #000000. No need for an entire duplicate of CoreV4.css in my Custom.css, just need the overwriting different CSS.
Note, this file contains Themable CSS comments. For my code changes to be applied, The CSS must be embeded to my masterpage using the following tag in the header, after the other CSS Theme tags.
<SharePoint:CssRegistration name=”/Style Library/en-us/Themable/style.css” After=”corev4.css” runat=”server”/>
Then make sure you SAVE, Check in and publish/approve this CSS file. THEN apply a different theme, then apply back the desired theme. You CSS will now be visible. NOTE: apply themes to all subsites if you want the CSS to be visible during these steps.
Only do this at Export, as you want to have Custom.css a complete copy of Corev4.css during Development.
Hope this helps!
For more on modifying CoreV4.css, see my other blog post from today.
Very nice workflow, and would save lots of time! Thanks.